A great pair of boots isn’t just a wardrobe essential—it’s an investment. Whether you have classic leather boots, delicate suede ones, or boots made of durable synthetic materials, proper care is key to keeping them in pristine condition for years, if not decades. With the right maintenance routine, it’s entirely possible to pass on your favorite boots to a new generation. This guide will walk you through essential steps for cleaning, conditioning, and caring for all types of boots, as well as advice on handling common issues, breaking in new boots, and knowing when to call in the professionals.
Step 1: Cleaning Boots the Right Way
Regular cleaning is the foundation of boot care. Dirt and grime can degrade materials over time, so it’s important to remove buildup before it causes damage.
Leather Boots
- Remove Dirt and Dust: Use a soft, dry brush or cloth to wipe away debris from the surface.
- Mild Cleaning Solution: Mix a few drops of mild dish soap with warm water, then dampen a cloth or sponge and gently wipe the boots. Avoid soaking the leather, as it can cause drying and cracking.
- Rinse and Dry: Use a clean, damp cloth to wipe away any soap residue, then pat the boots dry with a towel.
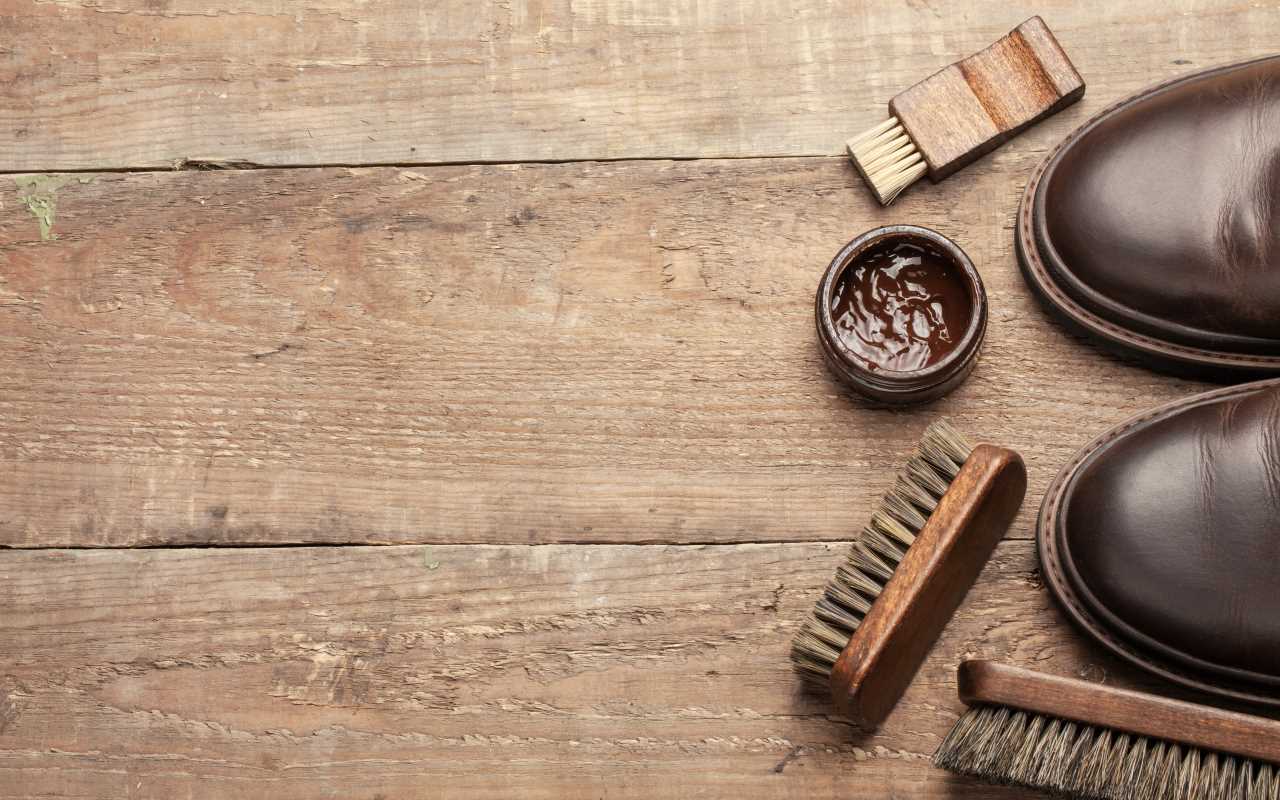
- Polish (Optional): Apply a leather polish for a shiny finish, using a clean, soft cloth to buff in circular motions.
Suede Boots
- Brush Gently: Use a soft-bristled suede brush to remove dirt and dust. Always brush in the direction of the suede’s natural grain.
- Spot Clean Stains: For tougher stains, use a suede eraser or a white rubber pencil eraser to gently rub the spot. Dampen a cloth with a small amount of white vinegar if needed, but use it sparingly to avoid discoloration.
- Steam for Deep Cleaning: Hold the boots over a pot of steaming water to loosen debris, then brush the material gently.
Synthetic Boots
- Wipe Clean: Use a damp cloth with warm, soapy water to remove dirt and grime. Synthetic materials are generally easier to clean than leather or suede.
- Dry: Allow the boots to air-dry completely; avoid direct sunlight, which can cause fading or warping.
Regular cleaning prevents dirt buildup that could lead to cracks, stains, or discoloration over time. Aim to clean your boots after every few wears or whenever they’ve been exposed to harsh conditions.
Step 2: Conditioning and Hydrating Your Boots
Conditioning is essential for materials like leather, which can dry out and crack if not properly maintained.
For Leather Boots
- Choose the Right Conditioner: Look for a leather conditioner that’s appropriate for your boots—some are formulated for smooth leather, while others cater to rough or waxed leather.
- Test First: Test the product on a small, inconspicuous area to ensure it doesn’t alter the color of your boots.
- Apply Sparingly: Use a cloth to rub a thin layer of conditioner into the leather. Focus on areas where creases or dryness are most noticeable.
- Buff with a Clean Cloth: Finish by lightly buffing the leather to evenly distribute the product and restore its natural shine.
For Suede or Synthetic Boots
- Suede: Avoid products designed for leather, as they can ruin suede’s texture. Instead, purchase a spray-on suede protector to hydrate and protect against stains.
- Synthetic Materials: These boots don’t usually require conditioning, but wiping them down regularly ensures they continue to look fresh.
Conditioning once every few months—or more frequently for boots exposed to tough conditions—will keep your boots supple and prevent cracking.
Step 3: Proper Storage to Prevent Aging
How you store your boots can significantly impact their longevity. Improper storage leads to creases, warping, or mold.
- Clean and Dry First: Never store boots when they’re dirty or wet. Ensure they’re completely clean and dry to avoid trapping moisture.
- Keep Shape with Boot Shapers: Insert boot shapers or even rolled-up newspapers into tall boots to retain their shape.
- Use Dust Bags: If possible, store your boots in dust bags or soft cotton pillowcases to protect them from sunlight, which can cause fading.
- Climate Control: Store boots in a cool, dry place. Avoid leaving them in damp basements or hot attics, as extreme conditions can weaken the materials over time.
With proper storage, your boots will be protected from unnecessary wear and tear between seasons.
Step 4: Addressing Common Issues
Even with the best care, your boots may occasionally run into problems. Here’s how to handle them effectively:
Scuffs
- On leather, rub scuffs gently with a soft cloth and a small amount of leather oil or polish.
- For suede, use a suede eraser on scuffs and then brush lightly to restore the texture.
Water Damage
- Leather Boots: Blot excess water with a clean towel, then fill the inside with newspaper to absorb moisture and prevent shrinkage. Once dry, apply a leather conditioner to restore hydration.
- Suede Boots: Allow them to dry completely before brushing out water marks with a suede brush.
Odor
- Sprinkle baking soda inside the boots and leave it overnight to absorb odors. Shake it out the next morning.
- Use cedar shoe inserts to combat odor and eliminate excess moisture.
Step 5: Breaking in New Boots
Breaking in boots is essential for comfort and longevity. Walking long distances in stiff, new boots can cause blisters and even damage the boots themselves.
- Wear Gradually: Start by wearing the boots around the house for 30–60 minutes per day to allow them to adapt to your feet.
- Use Thick Socks: Wearing thicker socks can help stretch the material slightly where needed.
- Softening Stiff Areas: For leather, apply a small amount of leather oil to soften stiff areas.
Patience in the break-in process will ensure the boots mold comfortably to your feet without compromising their structure.
Step 6: Choosing the Right Products
Using the right care products is crucial to your boots' longevity, as improper products can do more harm than good.
- Leather Polish: Restores shine and corrects minor color imperfections.
- Suede Protector: Creates a water-repellent barrier that prevents stains.
- Neutral Cleaning Cloths: Choose soft, lint-free cloths to avoid scratching delicate materials.
- Specialized Brushes: Use brushes specifically designed for materials like suede, as the wrong brush can flatten or damage the texture.
Investing in quality care products aligns with the philosophy of treating your boots as a long-term investment.
Knowing When to Seek Professional Repairs
There’s a limit to what home care can achieve. If your boots suffer substantial damage or wear, seek out a cobbler or professional repair service. Here’s when to call in the experts:
- Soles Worn Thin: A professional can replace the sole to give boots a second life.
- Loose Stitches: If the stitching comes undone, it’s better to have it re-stitched by a professional to maintain the structural integrity of the boot.
- Severe Scratches or Tears: Boot repair shops can often mend deep scratches or tears in leather using specialized tools and techniques.
Professional repairs may cost a bit upfront, but they’re a worthwhile investment to extend the life of your boots.
Taking care of your boots doesn’t have to be labor-intensive—it simply requires consistency and attention to detail. Clean them regularly, condition materials like leather and suede to prevent drying out, and store them properly to maintain their shape. Keeping an eye out for signs of wear and addressing them promptly will also go a long way. And when in doubt, don’t be afraid to consult a trusted cobbler.